

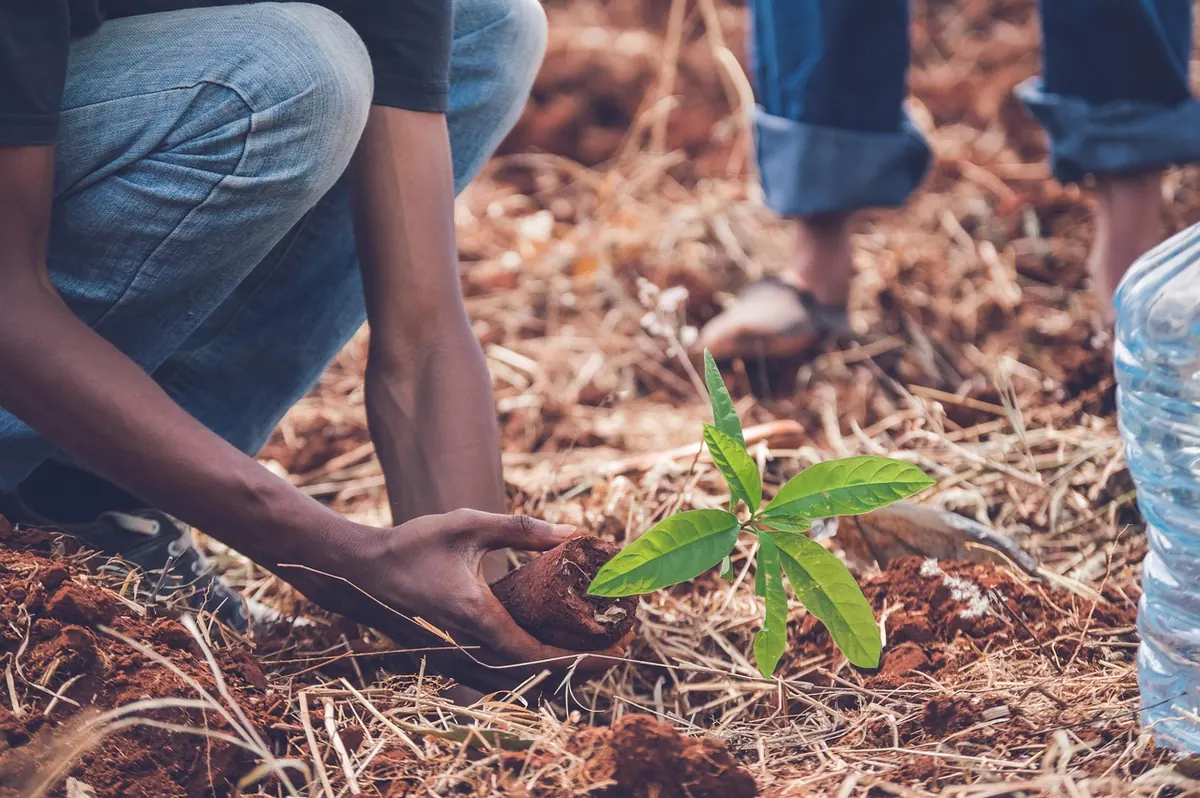
Planting a fruit tree feels like a simple job: dig a hole, set the tree, fill it back in, water. Most problems begin with that word simple. A young tree has to spend its first seasons knitting roots into unfamiliar soil while holding up a canopy of branches. Small errors at planting—an inch too deep, a hole too narrow, a stake left on for years—can take a long time to show and even longer to correct. The good news is that most mistakes are easy to avoid once you know what to look for. Here are the ones that show up most often, and the practical fixes that give a new apple, pear, plum, or cherry the best start.
Planting Too Deep and Burying the Graft Union
Depth is the mistake that causes the most trouble. A fruit tree is not a fence post; burying the trunk deeper does not make it sturdier. It suffocates roots, invites rot around the bark, and can weaken the tree for years. The key landmark is the root flare—the point where the trunk widens and begins to send out roots. That flare should sit at or slightly above the surrounding soil line. On grafted trees, the graft union, the knobby joint where the fruiting variety meets the rootstock, should stay clearly above the soil, often a few inches above it. Burying that union can encourage the scion to root and reduce the benefits of the rootstock.
Do not trust the nursery soil line as your guide. Pots settle, and container trees are often planted too deep in the nursery already. Lift the tree out, loosen the top of the root ball, and find the flare with your fingers. In clay soil, set the tree an inch or two high so it does not sink into a soggy pocket. If you discover the tree is too deep after backfilling, lift it and start again. It is far easier to correct on planting day than after a season of poor growth.
The Hole That Is Too Small, Too Shallow, or Too Rich
Roots need room to spread, but a planting hole does not need to be a cavern. Dig it two to three times as wide as the root ball and no deeper than the root ball itself. Rough up the sides and bottom with a fork, especially in clay, so roots are not growing inside a smooth-sided flowerpot. If the hole ends up deeper than needed, firm the soil at the bottom until the tree sits at the right height. Do not loosen the bottom into a soft mound that will settle later and pull the tree down.
Backfill mostly with the native soil you removed. A modest amount of compost mixed through the backfill is fine, but filling the hole with rich potting mix or a heavy dose of amendments can create a pocket that dries out or stays wet differently from the surrounding soil. Roots may circle inside that pocket instead of reaching outward. For container trees, tease out the roots and cut any that are circling the root ball. For bare-root trees, spread the roots over a cone of soil and keep them moist while you work. Skip the gravel layer at the bottom; it does not improve drainage and can create a perched water table.
Staking That Becomes Permanent
Staking is support, not scaffolding. A tree that is tied rigidly to a tall stake cannot flex, and flexing is how it builds a stronger trunk. Stake only when there is a real need: a bare-root tree in a windy site, a top-heavy container tree, or a rootstock that genuinely requires support. Use one or two stakes placed outside the root ball, and tie with a flexible material that has a spacer to keep the trunk from rubbing. Leave a little slack so the tree can move.
Check ties every few months. A tie that was loose in spring can girdle a trunk by summer. Remove the stake after one or two growing seasons unless the nursery or rootstock guidance says otherwise. Some dwarfing rootstocks need permanent support, and a few windy sites may need longer help, but “plant it and forget the stake” is not a good default. A loose stake removed on time does more for a tree than a tight one left for years.
Watering by Habit Instead of by Soil
New fruit trees fail from both drought and drowning. Water thoroughly after planting to settle the soil around the roots, then check the soil before watering again. Push a finger or a small trowel into the top few inches. If it is dry, water deeply at the root zone; if it is cool and damp, wait. Daily light sprinkling encourages shallow roots and keeps the surface soggy without reaching the deeper soil. A slow soak with a hose, bucket, or soaker is better than a quick pass with a sprinkler.
Keep the water aimed at the root zone, not at the trunk. A mulch ring two to three inches deep helps hold moisture and moderate soil temperature, but pull it back a few inches from the bark. In clay soil, watch for water standing in the planting area; in sandy soil, expect to water more often. Do not fertilize heavily at planting to push growth. Let the tree establish roots first, and let the soil guide your watering schedule rather than the calendar.
Soil Preparation: Drainage First, Amendments Second
Fruit trees tolerate imperfect soil better than a bathtub. Before digging, check drainage. Dig a test hole, fill it with water, and let it drain. Fill it again and see how long the water stands. If it is still there after a day, choose a different spot, plant on a raised mound, or improve drainage before planting. Poor drainage is harder to fix later than poor fertility. Clear weeds and grass from a wide circle around the planting site so young roots are not competing with a lawn.
Improve the whole planting area with organic matter rather than trying to create one perfect pocket. A pH test is worthwhile if you are unsure about your soil; fruit trees generally prefer a range that varies by type, so match the tree to your conditions where possible. Do not add gravel for drainage, and do not bury the crown in compost. The goal is a comfortable, well-drained root zone with the root flare visible and the graft union above soil.
A Simple Planting Sequence
- Check drainage, sun, and spacing before digging.
- Dig a hole two to three times wider than the root ball, no deeper than the root ball.
- Find the root flare and set the tree at or slightly above grade.
- Tease or spread the roots; trim only damaged or circling roots.
- Backfill with native soil and modest compost, firming gently as you go.
- Water slowly and deeply to settle the soil.
- Add a mulch ring, keeping it clear of the trunk.
- Stake only if needed, loosely, and plan to remove the stake later.
The Five-Minute Check Before You Plant
Before you fill the hole, step back and look. Is the root flare visible? Is the graft union above the soil line? Is the hole wide enough, and is the tree sitting at the same depth it will live at for years? Are the roots teased out rather than packed into a tight ball? Those few questions prevent most planting regrets. Keep the first season boring: correct depth, a wide hole, native soil, deep watering, a loose stake if needed, and a mulch ring. Do that, and the tree can get on with the work only it can do—growing.
Photo: imsogabriel_Stock / Pixabay