

An untended apple tree still crops. It also grows scab, hosts codling moth, throws up a thicket of water shoots and hands you a bucket of small, hard fruit the wasps find first. The difference between that tree and a good one is rarely effort. It is timing.
Most orchard jobs are small — a cut here, a barrow of compost there, an evening spent thinning when the fruitlets are the size of a marble. Do them at the right point in the year and the tree does the rest. Miss them and you spend July fixing problems that were settled in March.
Read the section that matches your month, then put the kettle on.
Dormancy: Pruning, Repairs and Planning
Deep winter is the only time you can see a tree's shape without leaves in the way, which is why structural pruning happens now.
Walk around each tree before you cut anything. Take out the three Ds first — dead, damaged and diseased wood. Then look for branches that rub, that cross through the centre of the crown, or that shoot straight up and shade everything beneath them. On a neglected tree, spread the work over two or three winters instead of sawing it all back at once.
Rules worth keeping
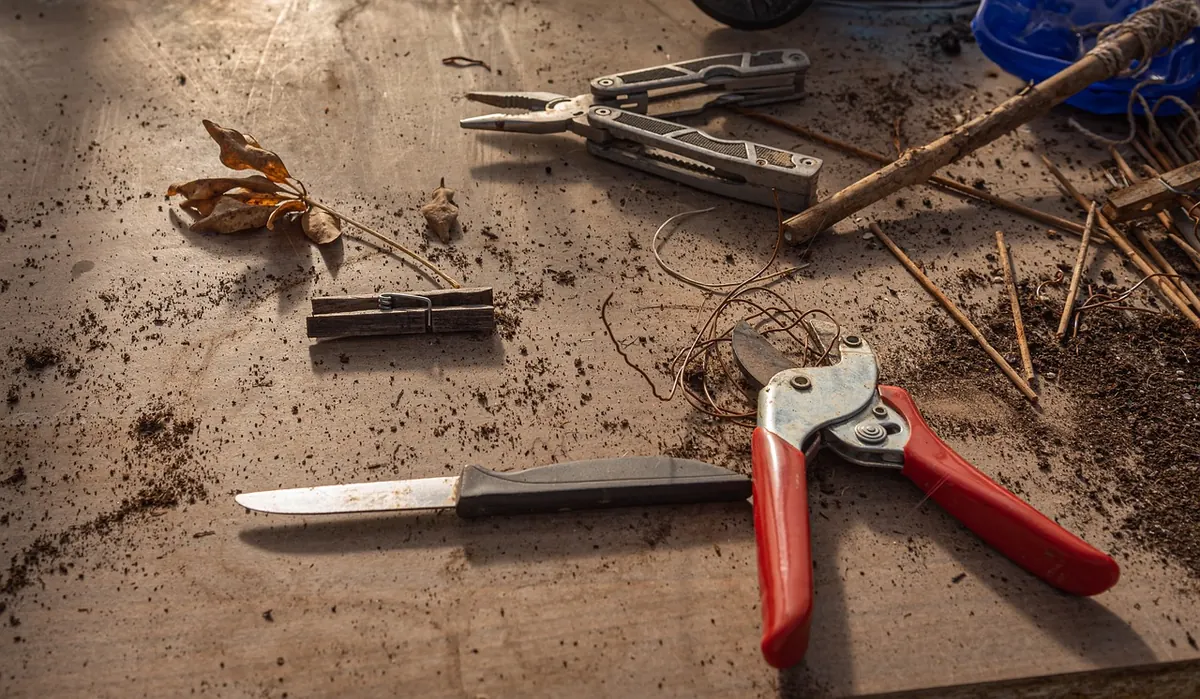
- Keep secateurs sharp, and clean them between trees — especially after cutting diseased wood.
- Cut back to a bud or a side branch, never to a stub.
- Aim for an open centre on apples and pears, so light and air reach the fruit.
- Leave plums and cherries until late spring or summer; winter pruning raises the risk of silver leaf.
- Skip the job in hard frost, when wood is brittle and cuts heal slowly.
Winter is repair season too. Check stakes and ties — a tree strangled by a forgotten tie is a common sight — and look for rodent damage around the base. Pick off any mummified fruit still hanging and bin it rather than compost it. This is also the month for planning: sketch the orchard, note which trees cropped and which did not, and order bareroot trees while the choice is still good.
Late Winter: Feeding and Mulching
By late winter the soil is workable and the roots are beginning to move. Feed and mulch now.
If you have never had your soil tested, it is worth doing once. A proper test tells you about pH and nutrient levels that no amount of guesswork will reveal, and a local horticultural adviser can help you read the results. Without one, well-rotted compost is the safest general feed for a garden orchard: a barrowload or two per mature tree, spread out to the drip line and left for the worms.
Go easy on high-nitrogen feeds. They push soft, leafy growth at the expense of fruit, and they make trees more attractive to aphids.
Mulch straight afterwards — five to eight centimetres of compost, well-rotted manure or bark, kept about ten centimetres clear of the trunk so the collar stays dry. It holds moisture, suppresses weeds and feeds the soil slowly.
Blossom and Early Spring: Pollination, Frost, First Checks
Once buds swell, everything speeds up. Pollination and frost matter more than anything else in this window.
Most apples and pears need a compatible partner nearby to set a decent crop, and many plums do too. If a neighbour's crab apple flowers at the same time, you may already be covered. Never spray an insecticide on open blossom, and do not work among wet flowers — damp blossom is more easily infected by fireblight in apples and pears.
Open, still nights are the frosty ones. Keep fleece to hand for potted and wall-trained trees. Low ground is colder than a slope, which is worth remembering when you plant.
Then start the pest checks. Turn over a few leaves and shoot tips and look for:
- aphid colonies clustering on new growth
- scale insects on older wood
- moth eggs and cocoons in bark crevices
- slug damage on low growth
- the first scab or mildew lesions on new leaves
Write down what you find, with dates. A notebook is the most underrated tool in the orchard.
Early Summer: Thinning and Watering
After the June drop, when the tree sheds what it cannot support, thin what is left. It feels brutal in a heavy year, but it is the biggest single improvement most gardeners can make to fruit size and quality. It also takes weight off the branches and cuts the rot that spreads between touching fruit.
- Wait until the fruit is marble-sized and the drop has finished.
- Remove damaged, misshapen and insect-marked fruit first.
- Leave one apple or pear per cluster, spaced 15–20 cm apart.
- Space peaches and nectarines 10–15 cm apart, plums 5–8 cm.
- Work from the top of the tree down, dropping thinnings into a bucket rather than on the ground.
Water deeply and less often. A mature tree in the ground rarely needs help outside a real drought; young trees need it most in their first two or three summers. Soak the root zone, let it dry back a little, and let the mulch do half the work.
Midsummer: Pest Patrol, Summer Pruning, Netting
High summer is inspection season. Codling moth larvae are the reason for those tunnels into the core of apples: pheromone traps hung in late spring help you time your checks, and corrugated cardboard bands tied around trunks give the larvae somewhere to pupate where you can find and destroy them.
Check the bands every couple of weeks. Look as well for aphids on shoot tips — a strong jet of water deals with light infestations — sawfly on plums, and wasps moving in as the fruit colours. Netting is the only reliable protection for cherries, and it has to go on before the fruit turns.
Summer pruning belongs to trained trees — espaliers, fans, cordons — rather than free-standing ones. Cut new side shoots back to three or four leaves above the basal cluster to let light in and hold the shape. On any tree, rub out water shoots while they are still soft.
Harvest and the Clean-Up That Follows
Test rather than guess. Cup the fruit in your hand and lift; a ripe apple comes away with a slight twist and an intact stalk. Skin colour and dark seeds are useful clues, but taste is the only test that really counts.
Pick with the stalk on, handle the fruit like eggs, and get it into the cool quickly. For storage, choose unblemished fruit, lay it in a single layer in a cool, dark, ventilated place, and check every couple of weeks for rot.
Then tidy up:
- Collect dropped and rotting fruit from beneath the trees; this is where next year's problems overwinter.
- Clear fallen leaves from under trees that had scab.
- Take out dead or broken branches while they are easy to see.
- Mulch again once the leaves are down.
- Plant bareroot trees from late autumn through winter.
Do not compost diseased fruit or leaves unless you know your heap gets hot enough to kill pathogens. Most garden heaps do not.
Making the Checklist Work
The calendar is a guide, not a rule. Your season will shift by a few weeks depending on where you garden, and trees answer to weather rather than dates. Tie each job to what the tree is doing: prune before buds swell, feed before growth starts, thin after the June drop, net before the fruit colours.
If you only manage a few things, make them the ones that compound — pruning for light and air, a generous mulch, hard thinning, a proper autumn clean-up. One steady hour a week beats a frantic weekend in March. Keep notes, too, so next year's list is written for your orchard rather than someone else's.
Photo: AndreasGoellner / Pixabay